Amber - Page 10
Fret Dots
I already had install fret dots but i was not happy because some where to low on the hole after gluing, some holes i drilled to large others the depth is a bit to much for what is needed, drilled this with standard drills is not fun.
So i removed all the dots, yeah more drilling…. shredding them to oblivion and since the work on the fret wires caused to much problems on the finish (Skill to acquire: Masking…) i sanded down the finish on the neck, also after watching some more videos i decided to make the edges off the fretboard more comfortable by making it a bit angled, i used 35/90 degree fret bevel tool with file to this.
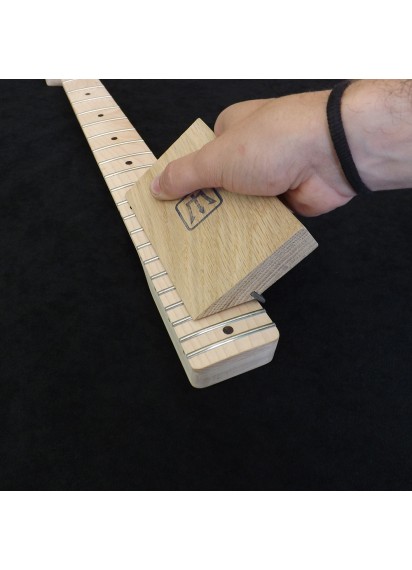
I saw this being done in one off the videos from Crimson guitars, it will make the edges off the fretboard like a worn guitar so that is more comfortable to use the neck.
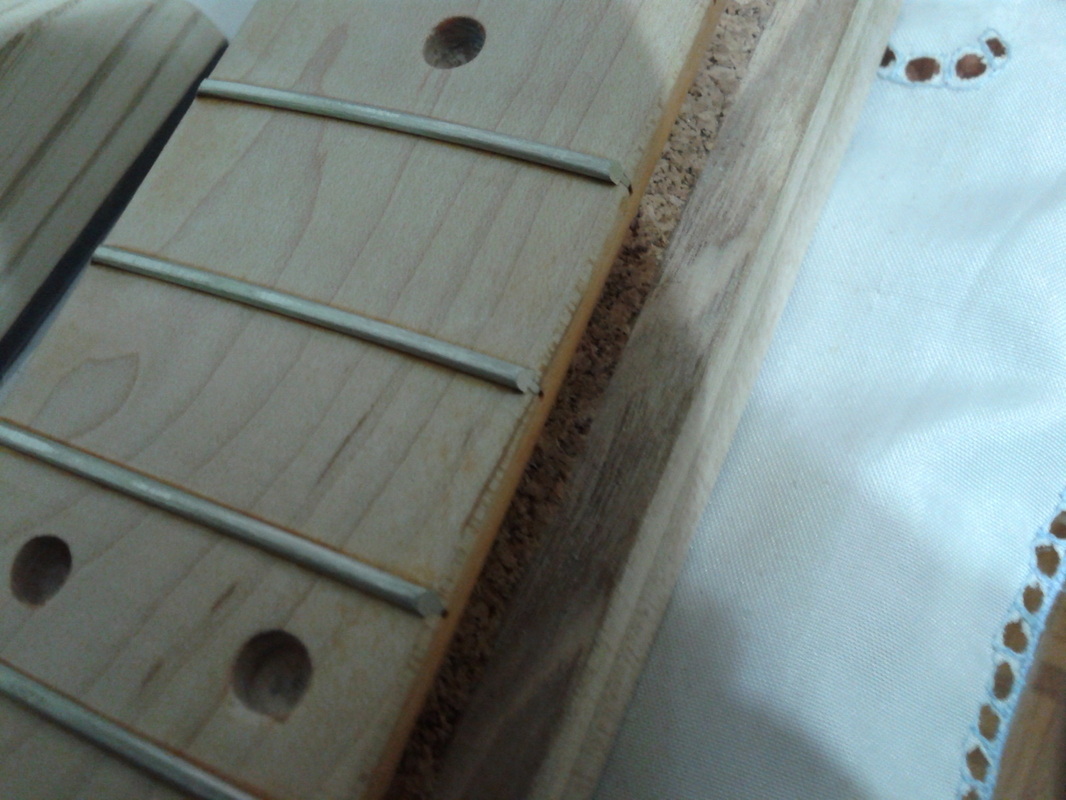
The clean neck.
The clean neck.
The Dots and the finish replayed.
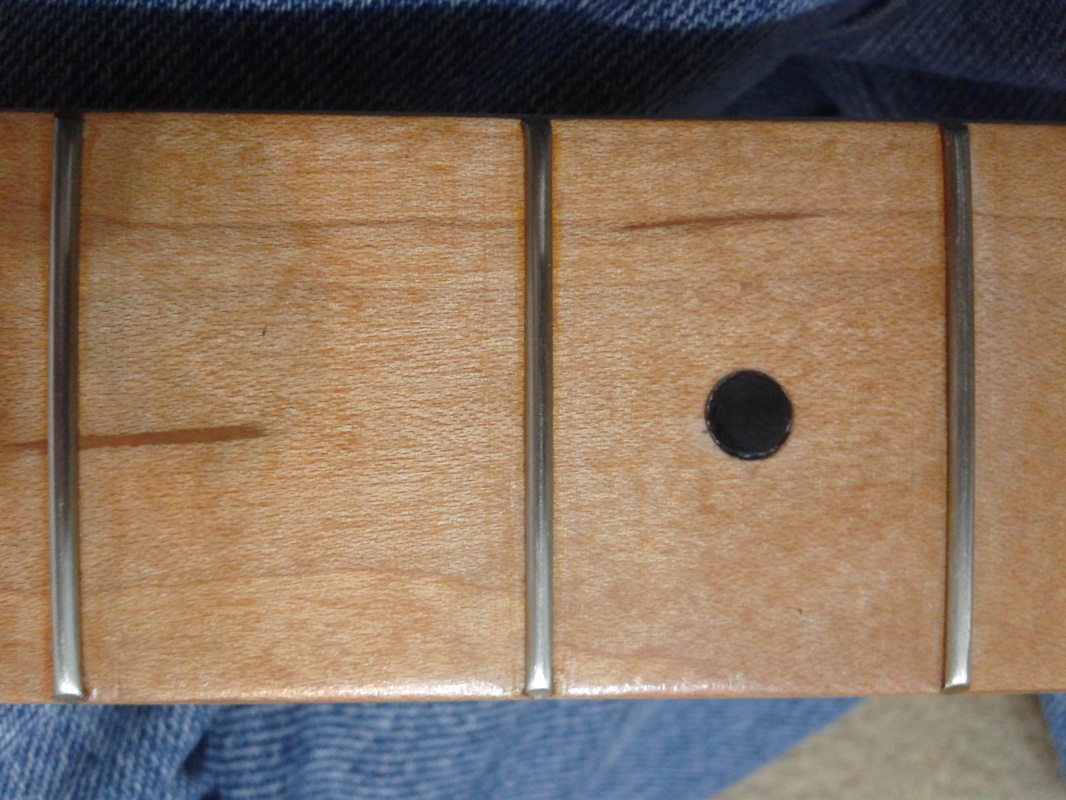

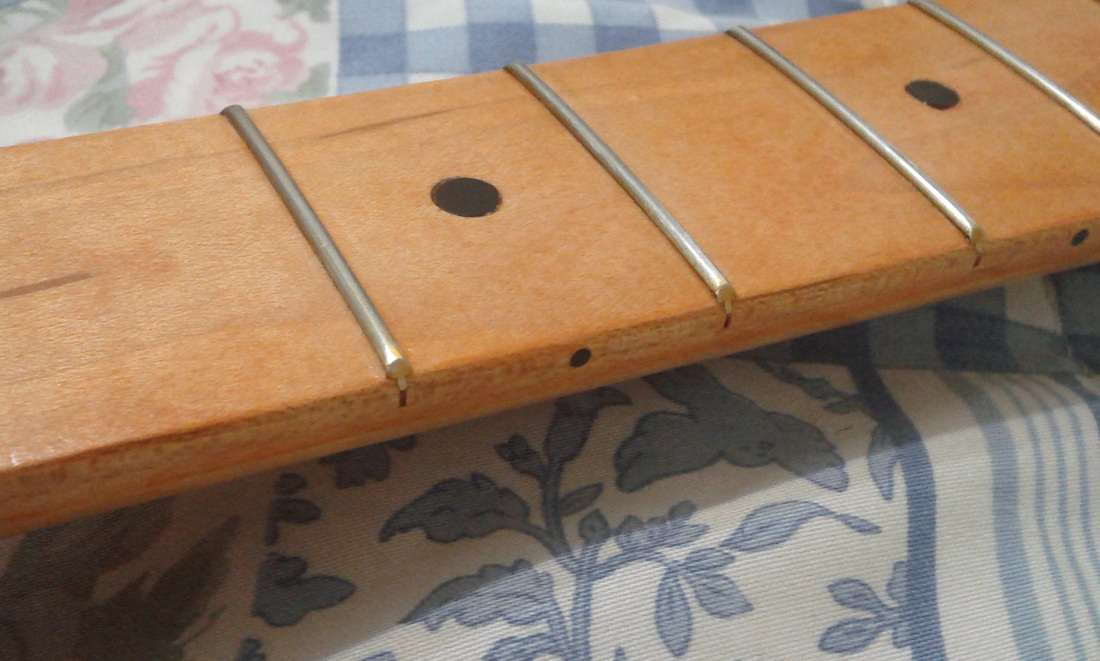
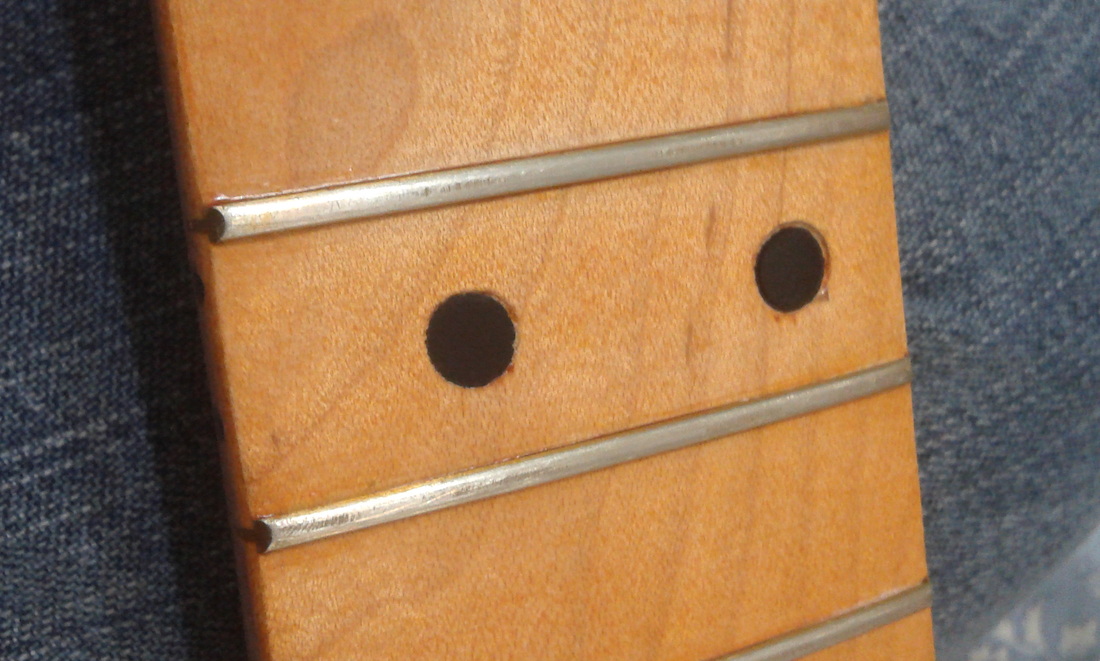
I used a wood filer to fill in the gaps since some holes larger, some fret dots stayed a bit down than what is ideal but its not very perceptible to the fingers, so i don’t believe they will cause any problems. Also i already did some sanding and polishing off the fret wires, because after leveling them they don’t look nice.
1st Page - Previous Page - Next Page - Last Page
1st Page - Previous Page - Next Page - Last Page