Page 4
A little progress update.
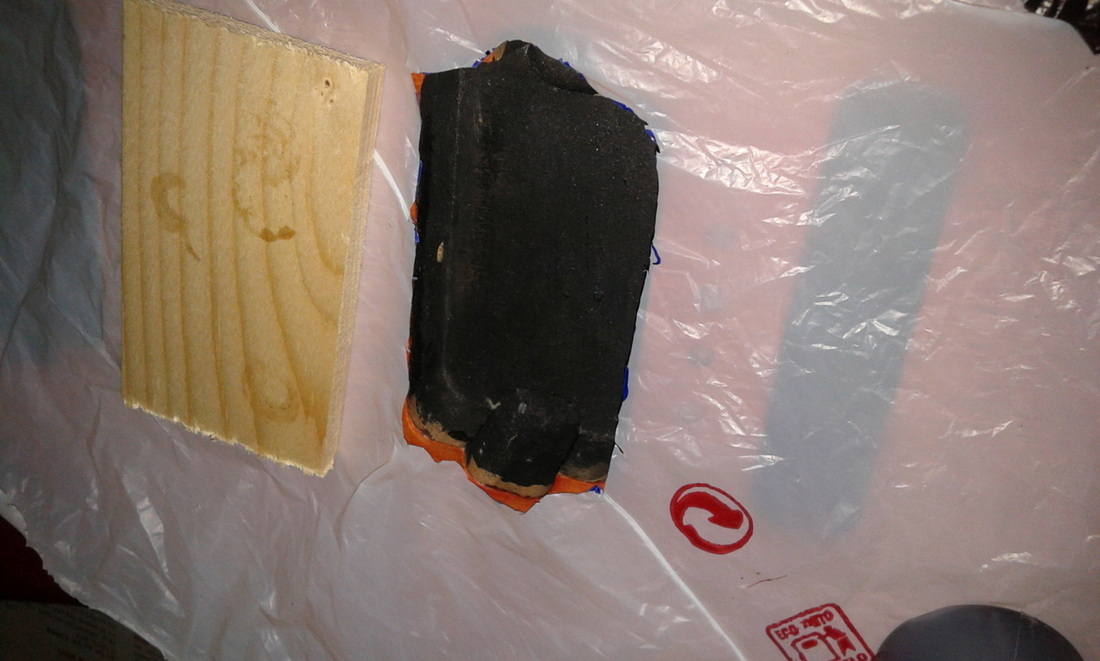
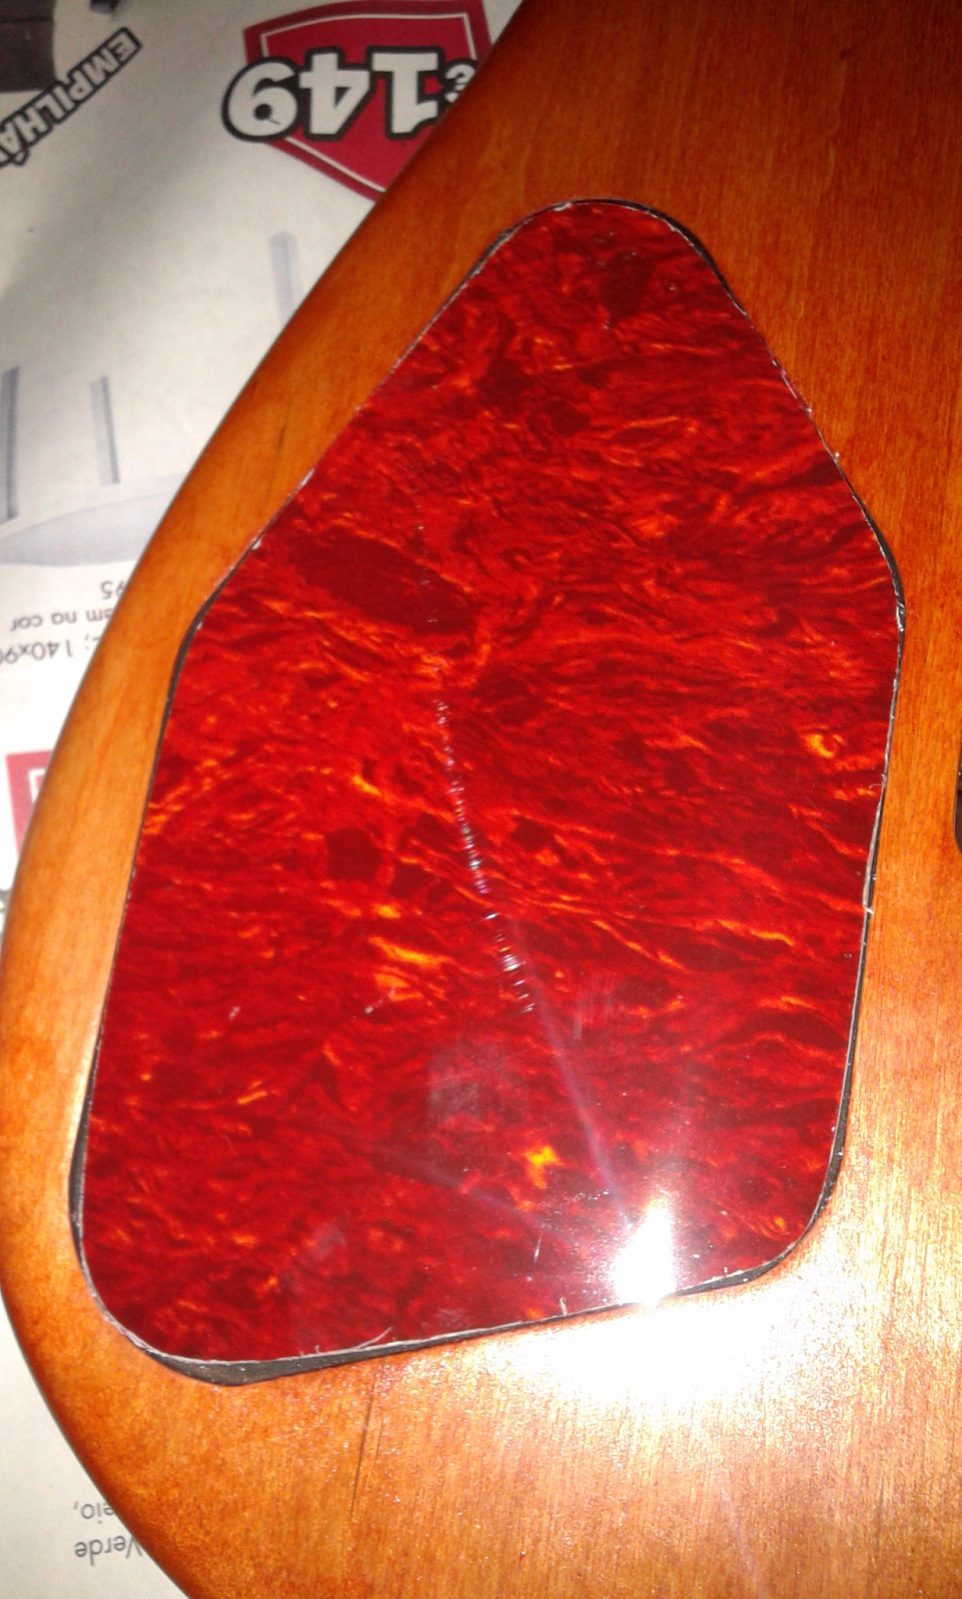
Traced the contours off the control cavity.
Traced the contours off the control cavity.
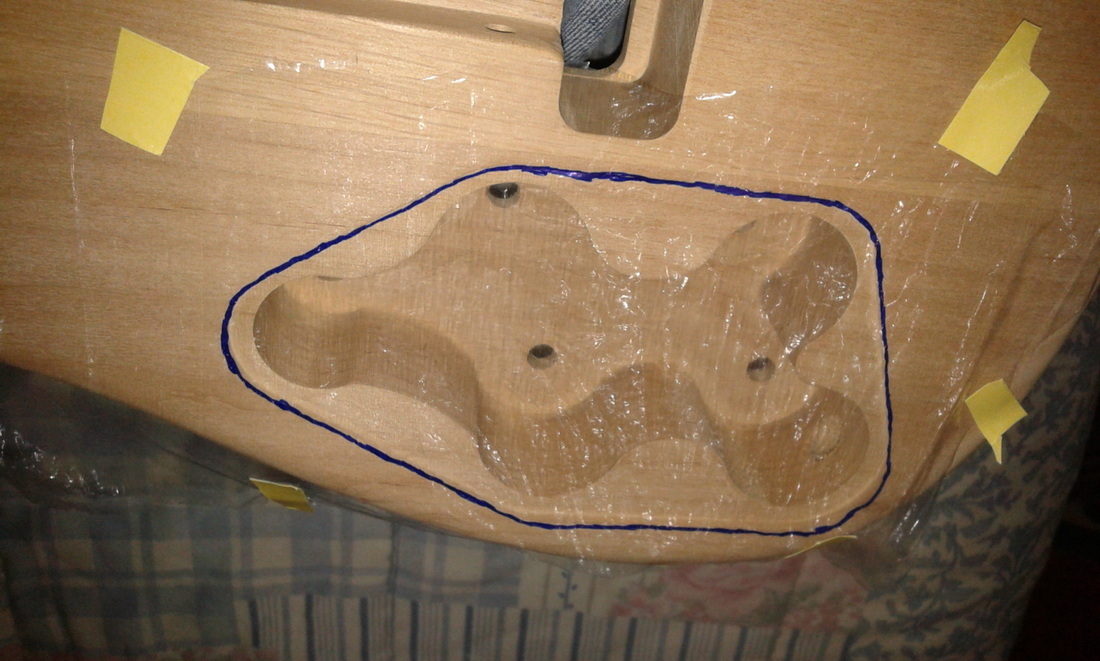
Just some plastic sheet and DVD marking pen, it is not a very accurate trace of the contours.
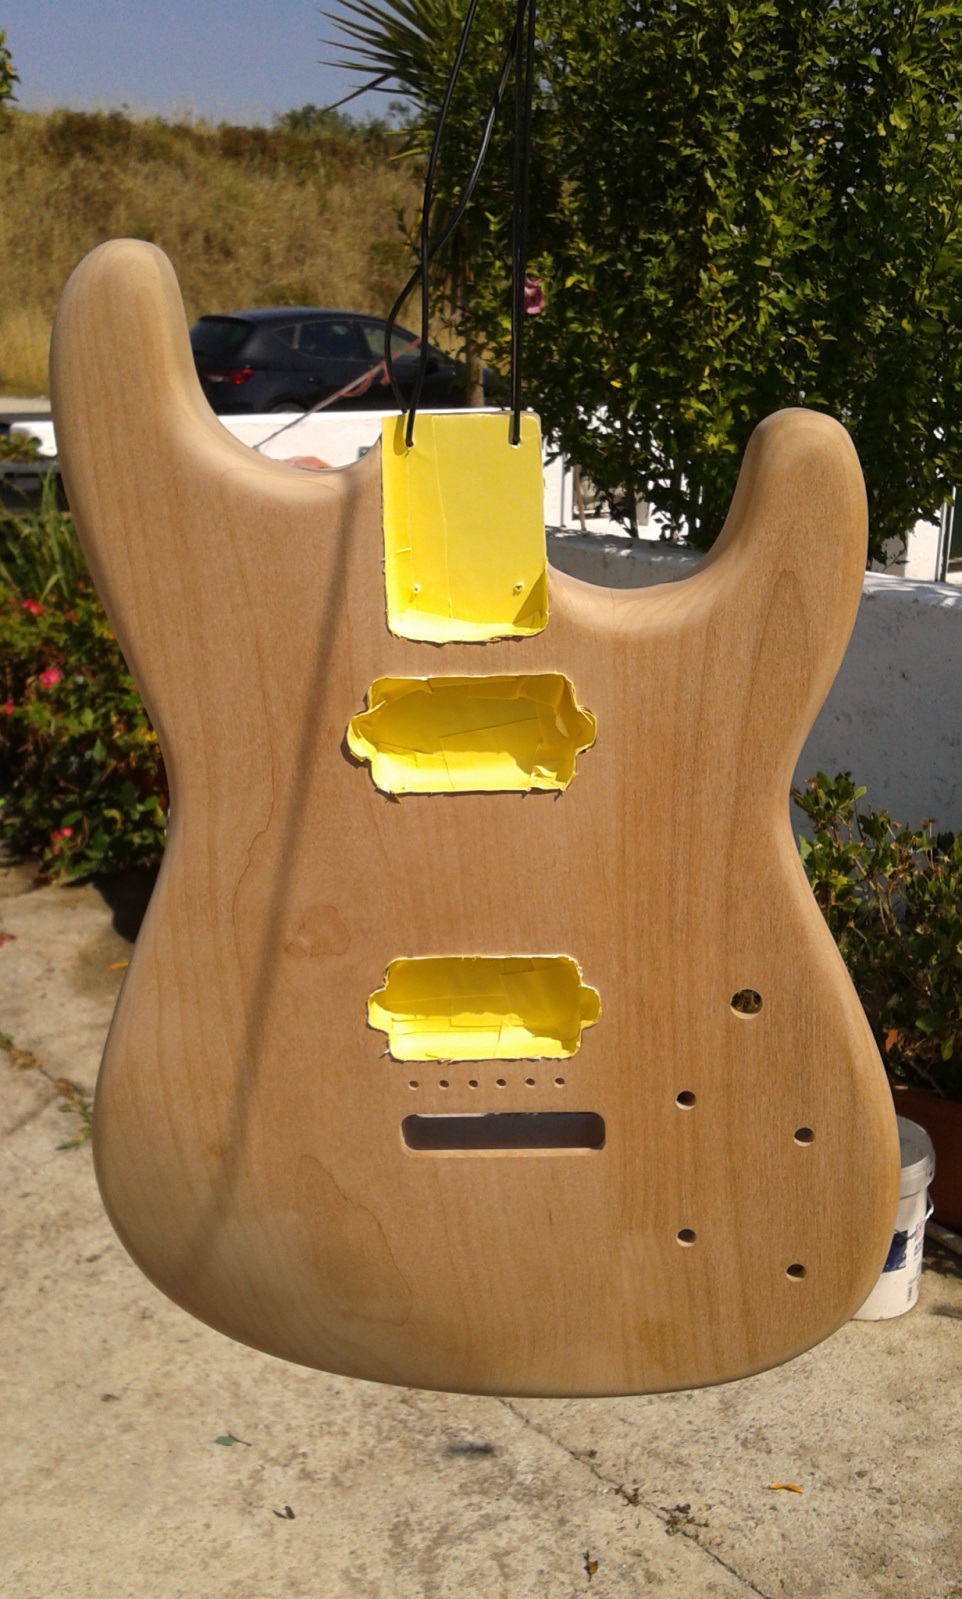
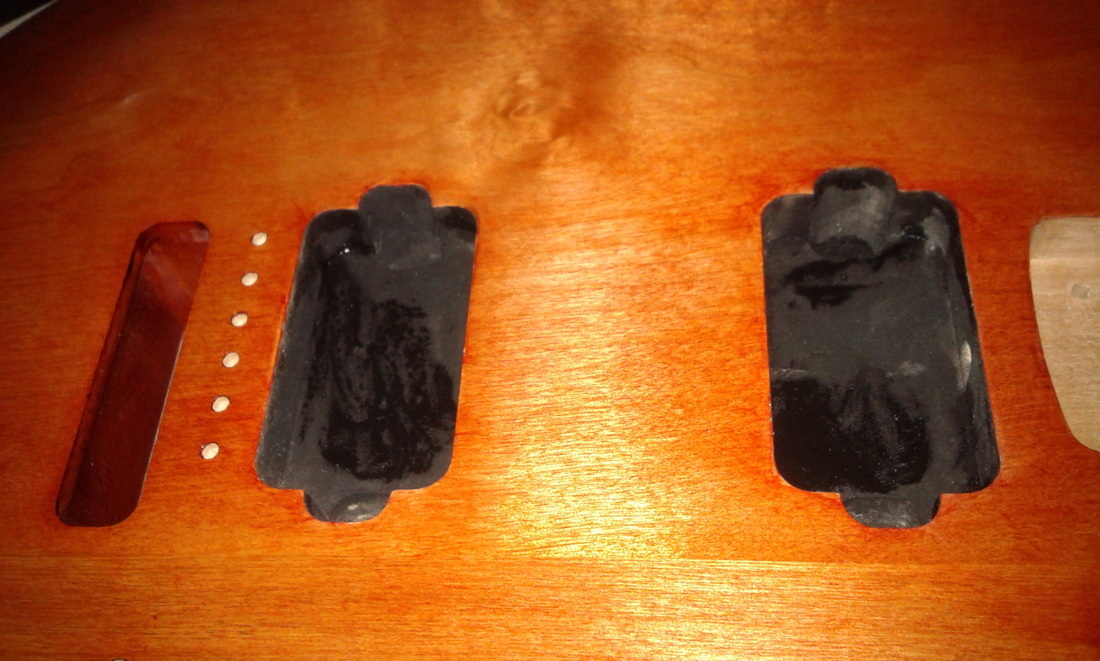
Masked the pickup cavities and neck pocket.
Masked the pickup cavities and neck pocket.
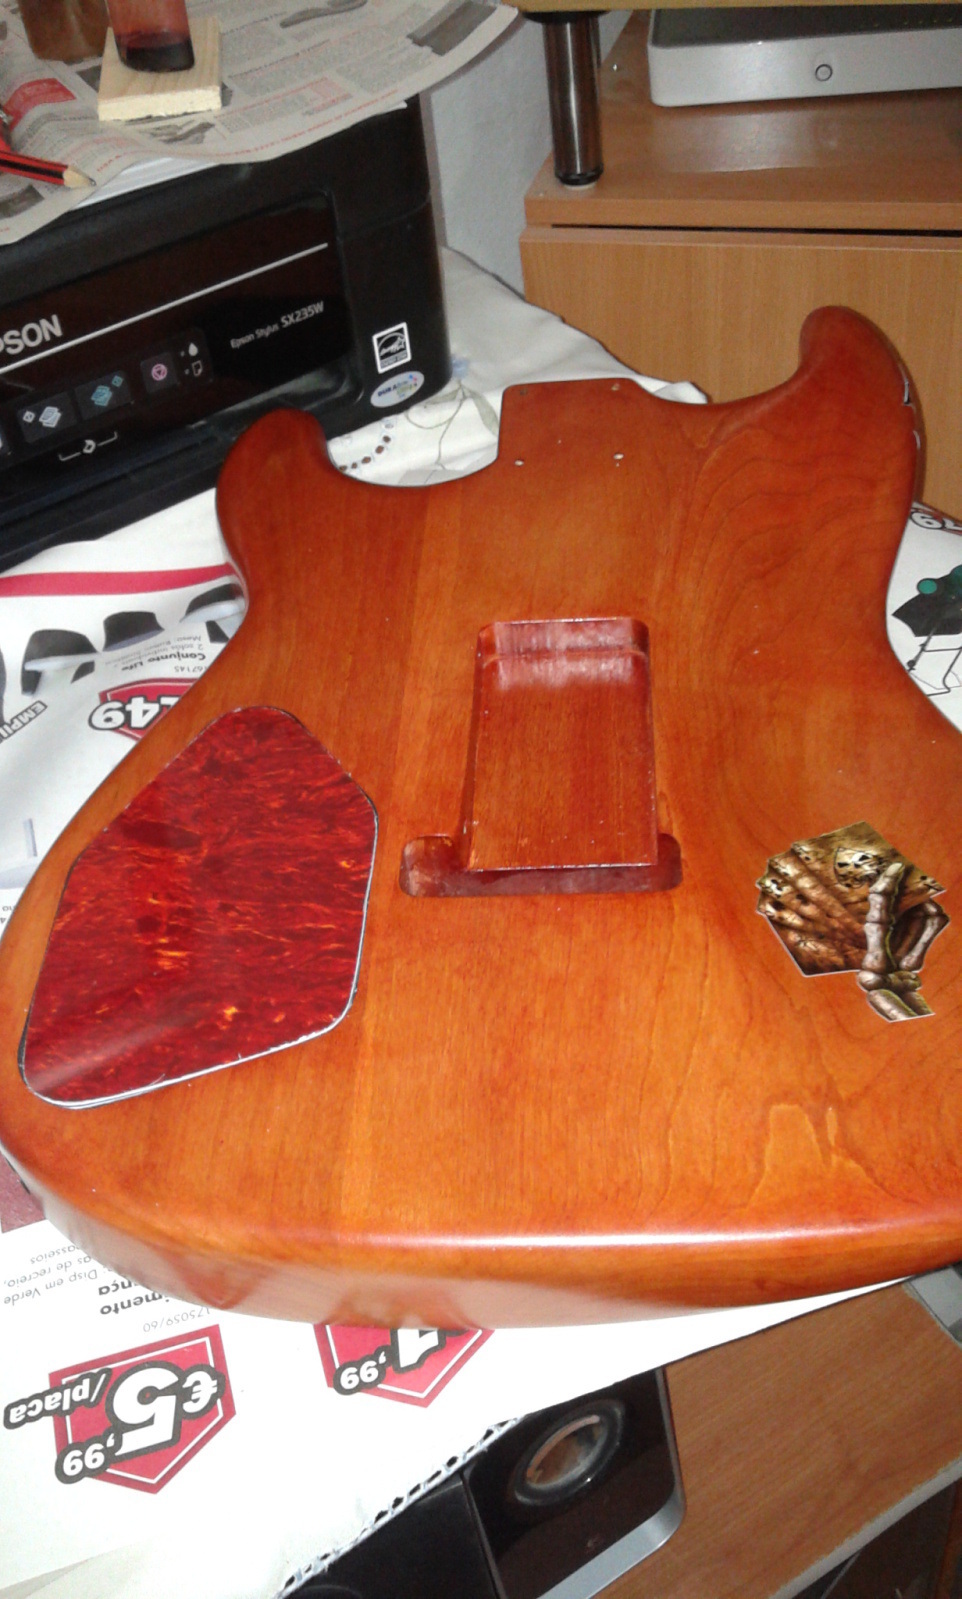
Stained the body.
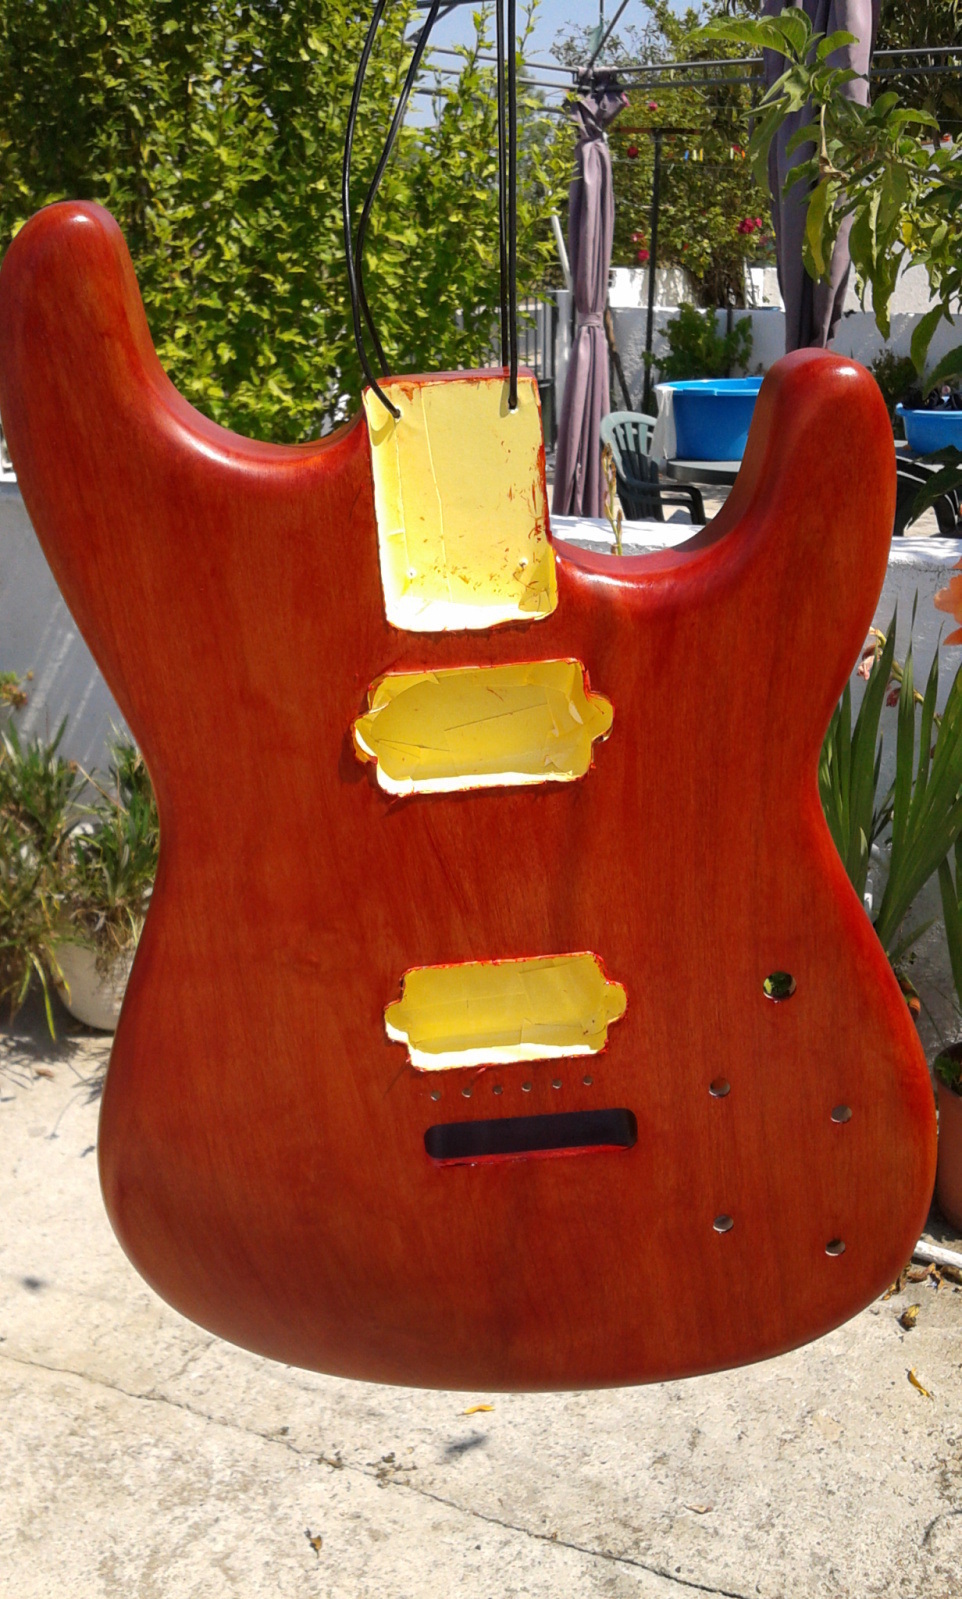
I used power cable to hold the body up, the other guitar i build the cable was different and a bit easier to secure in place, with this build that was not the case and the guitar drooped to the floor one off the times when i was hanging it up, the wires slipped and dropped on the harsh floor witch left nasty damage that had to be sanded, basically a large part off the front had to be sanded back.
Next time i hang this guitar i made changes to the system to avoid problems.
Next time i hang this guitar i made changes to the system to avoid problems.
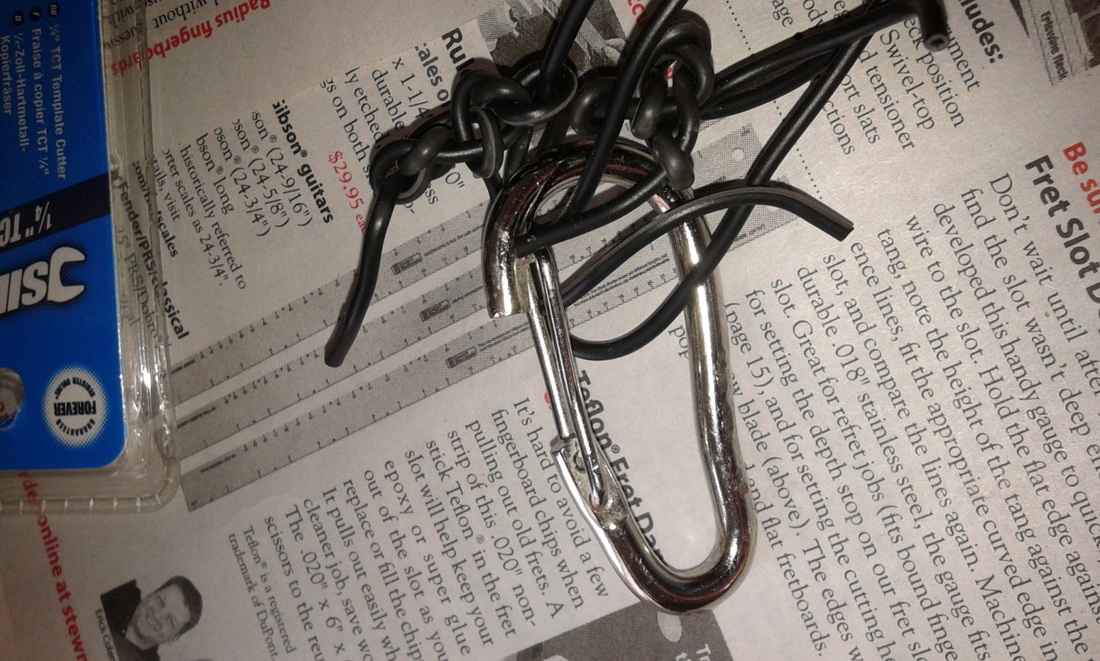
I used a carabiner to hang the guitar it self, so no need to complicated knots that take time to do and you need to be carefully while doing so that nothing slips, it just press it to open and insert it in place and left it close.
When i received this body i did not like some off the marks that this had on the back and heavy sanding only manged to make them slightly less obvious. The stain help mask out a bit off it.
When i received this body i did not like some off the marks that this had on the back and heavy sanding only manged to make them slightly less obvious. The stain help mask out a bit off it.

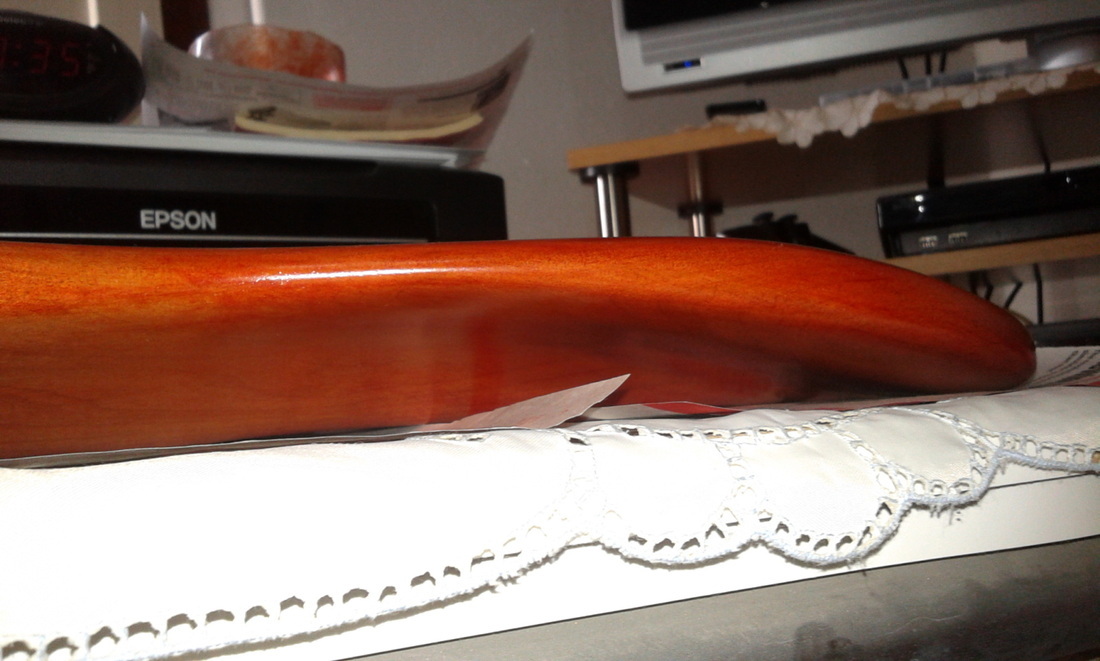
A much thinner belly section, the shape now nice then my initial sanding it was to abrupt, now it flows nicely.
It was clear to me i would not like some aspects off this wood so i planed on cover it, well for the price off the guitar body you can not expect the most perfect wood.
It was clear to me i would not like some aspects off this wood so i planed on cover it, well for the price off the guitar body you can not expect the most perfect wood.
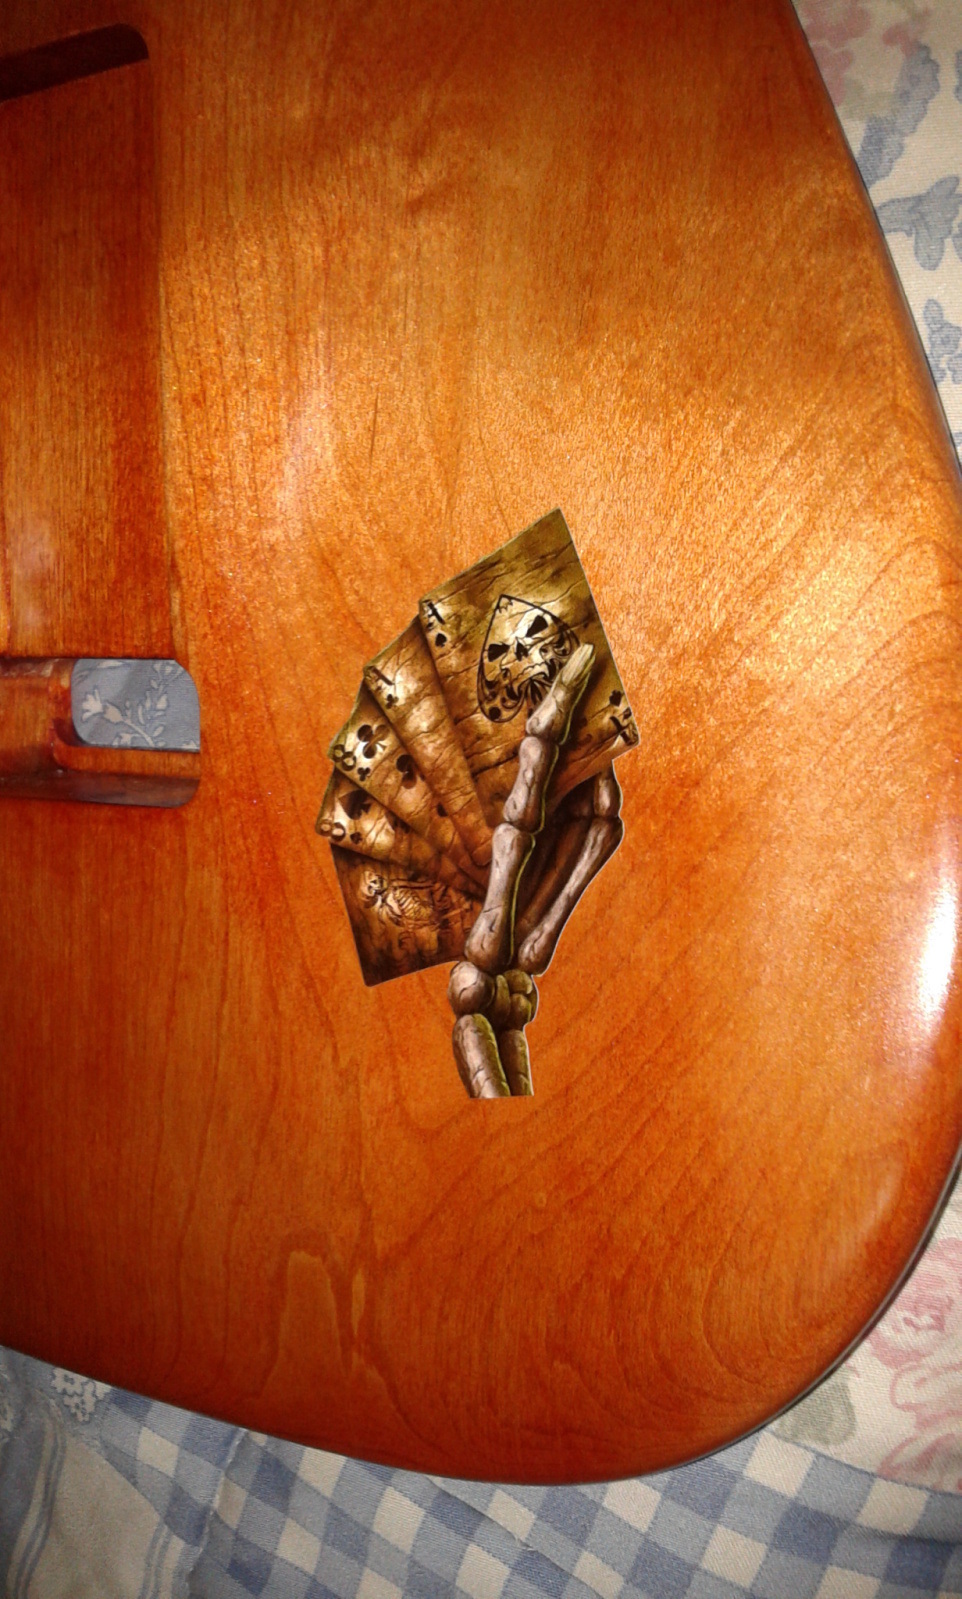
The hand decal looks perfectly in there.
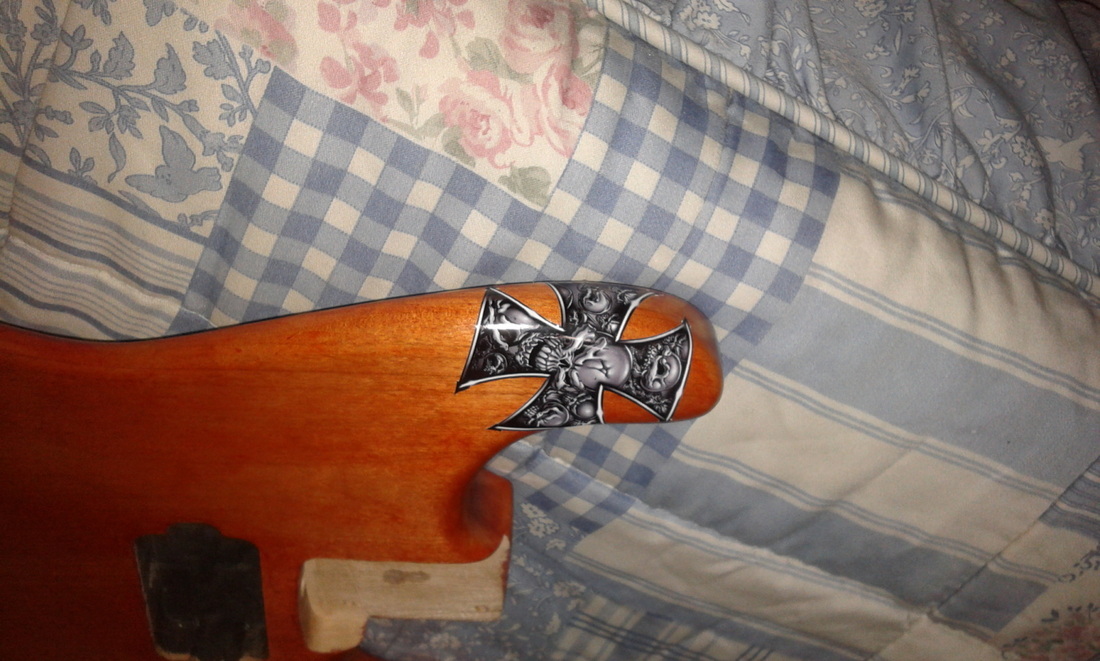
The Celtic cross looks a bit out off place but i did spot some tiny dots on the wood after sanding it after the guitar had felt and the stain made those dots pop up and the cross manages to cover them.
Next was painting the pickup cavities in the parts i did not pain, i left some margin to be filled after the stain is applied.
Next was painting the pickup cavities in the parts i did not pain, i left some margin to be filled after the stain is applied.
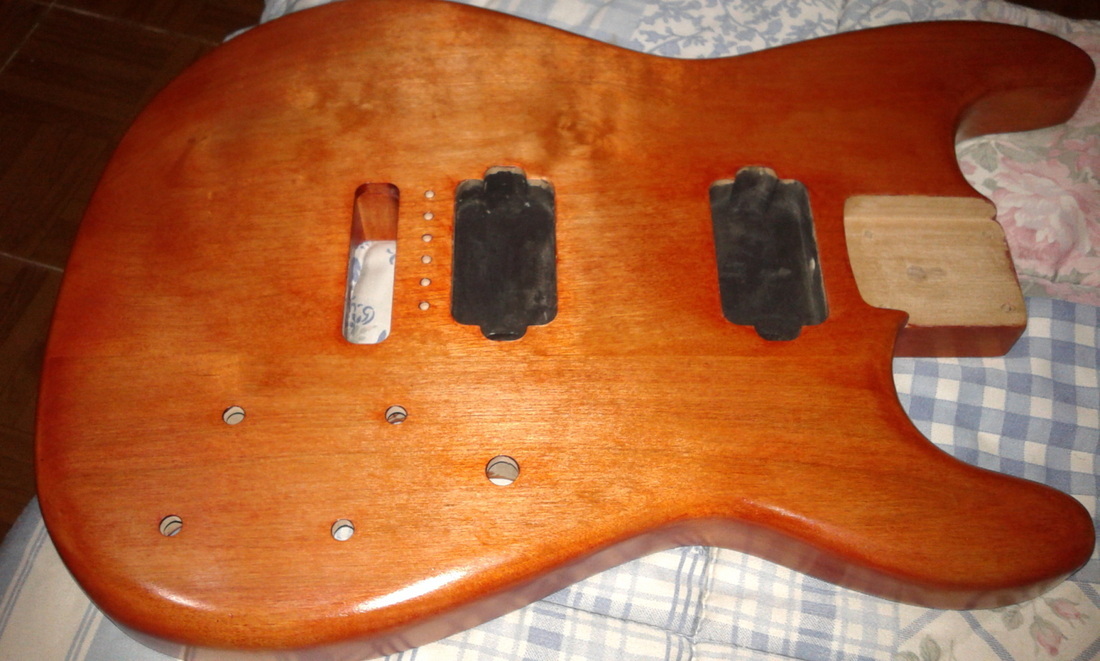
Masking up.
The final result.
Painted the back cavity.
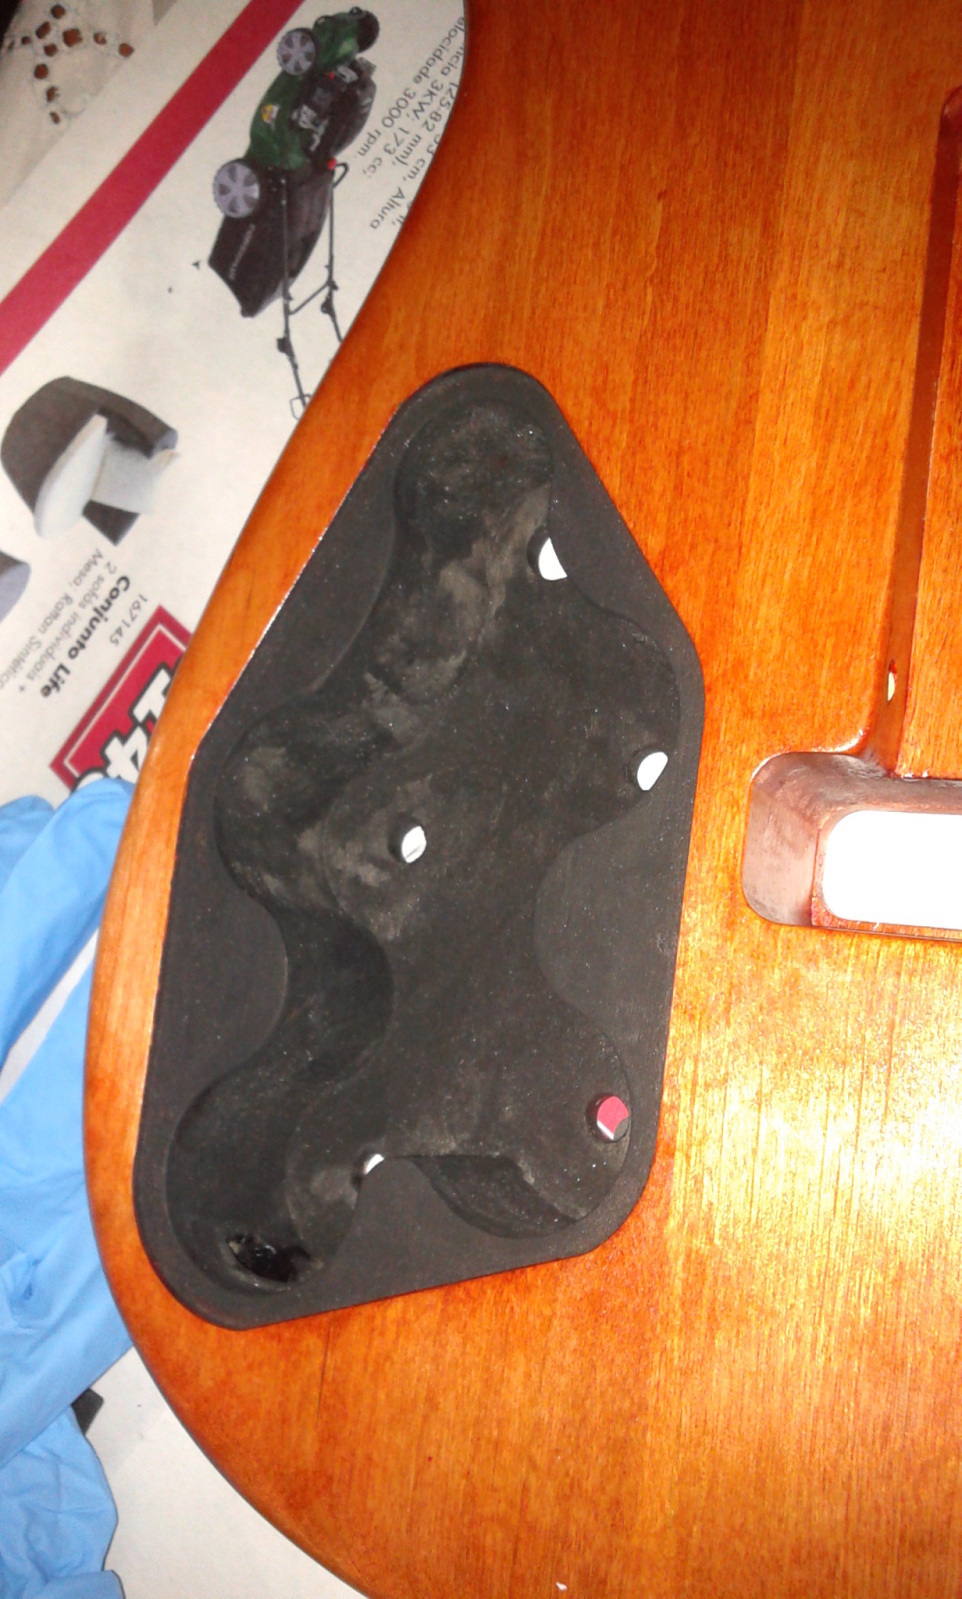
The area off where the controls pop up was also painted, bad spot to mask... if any paint drops either immediately wipe it with a paper of cloth with water, if you are a bit slower on removing the conductive paint it will start to dry. I used WD-40 to remove a left over in one spot that dried more fast.
The back plate.
The back plate.
Not a perfect plate, but close enough for me.
It needs to be taken to the proper height, a decent sanding to the contours, drilling holes and add isolation.
Currently i don't have yet a neck for this guitar, i ordered a neck but it still missing in action.
So basically i wanted to carve a bit the neck joint but without a neck i will not do it.
So next stage is add pickups and hardware and try to solve the neck problem.
1st Page - Previous Page - Next Page - Last Page